To import pictures from your camera – open iPhoto. Plug your camera in using the usb cable or using a card reader – plug your memory card in.
Open iPhoto, click file < Import pictures
Your pictures will all be in the iPhoto library – all your pictures. One way I have seen this described is that iPhoto is a database of all your pictures.
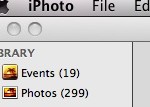
Let’s look at Events and Albums.
Every time you import a picture from your camera or through drag and drop, iPhoto creates an event. It’s iPhoto’s way of automatically organizing your photos according to the date they are added. So an Event in iPhoto is just an instance of adding photos, whether it is one photo or fifty.
Albums are YOUR way of organizing your photos according to ways that make sense to you.
A photo can only be in one event because it can only be uploaded one time.
A photo can be in as many albums as you want because it doesn’t really physically move the photo – it just is a way of saying that you want to view all photos that fit this criteria you have set.
Lets use Christmas as an example. Maybe you have taken pictures for ten years at christmas. You have ten Christmas picture events because each Christmas you took pictures and each time you took those pictures you uploaded them to iPhoto,
Now at the end of those ten years, you want to see just the pictures of little Susie at Christmas so you can see how she has grown.
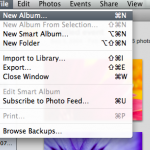
You create an album called Christmas Susie. To create that album you just click File < New Album and give it a name. You will now see it in the list of folders on the left sidebar.
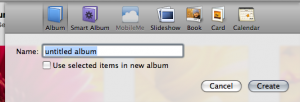
Now all you have to do is click on Library < Photos and drag the photos you want to see when you click that album and drag them in it. You haven’t actually moved any photos. You can still click on Library < Photos and see all of them. But if you click on the album you will ONLY see the pictures you added to it.
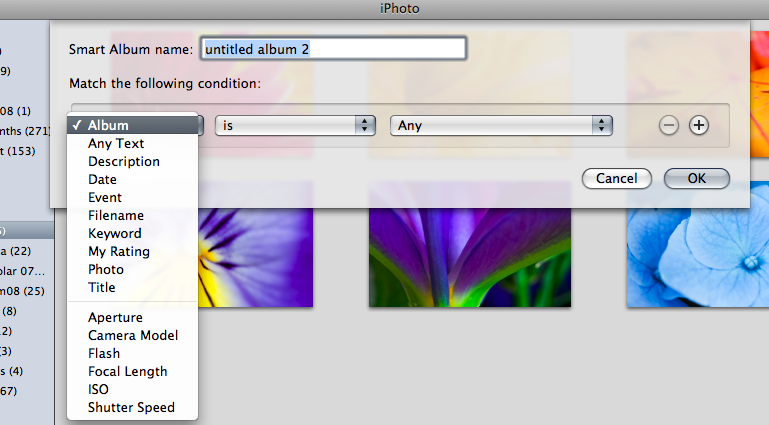
If you want to make iPhoto actually work FOR you, you can create something called a “smart” album. Just like creating an album you go to file < new album. This time, choose smart album (give it a name) and a new box will pop up letting you choose criteria for what goes into the album. If you want to specify more, just click the plus sign and you will get another box to add more criteria. From now on, any picture that fits that criteria will automatically be placed into that album for you by iPhoto.
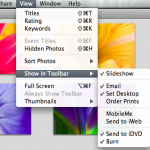
You can customize your bottom toolbar a bit to fit your needs. To do this, click view up at the top and select “show in toolbar”. Whatever you check will show. You can change this at any time.
Now if you want to create a cd of some photos you can select the album you have created and click burn in the bottom toolbar making sure there is a cd in the drive.
![]()
I hope this helps you get started organizing your pictures with iPhoto.